Before you can build a Weave, you need a project to work in, a provider to talk to a model, and at least one agent. The three sections below walk through that setup; once it's done, skip to your first Weave.
Prerequisites
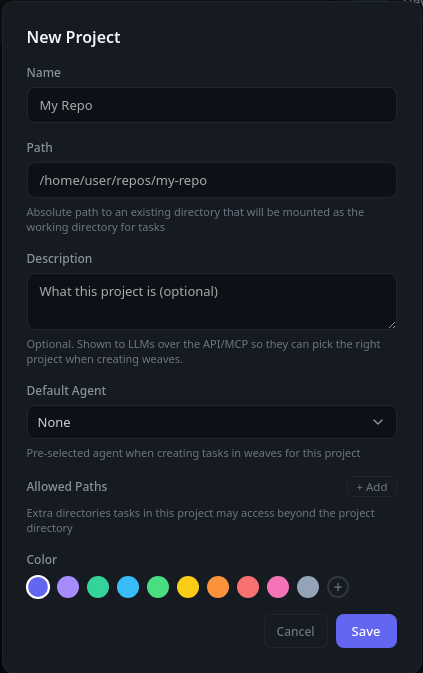
Creating a project
A project points Weave at a directory on disk. Tools and Weaves are only available inside a project, and on Linux the sandbox confines every tool call to the project's directory. Create one from the sidebar, give it a name, and choose the folder you want to work in.
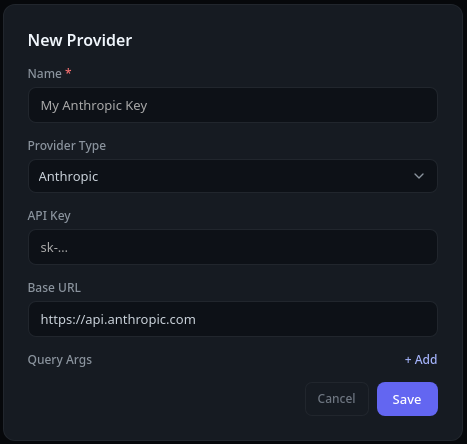
Adding a provider
A provider is the connection to a model backend — a frontier API or a local server such as Ollama. Add one in settings, choose the provider type, and enter its endpoint and any API key it needs. You can add as many providers as you like and switch between them.
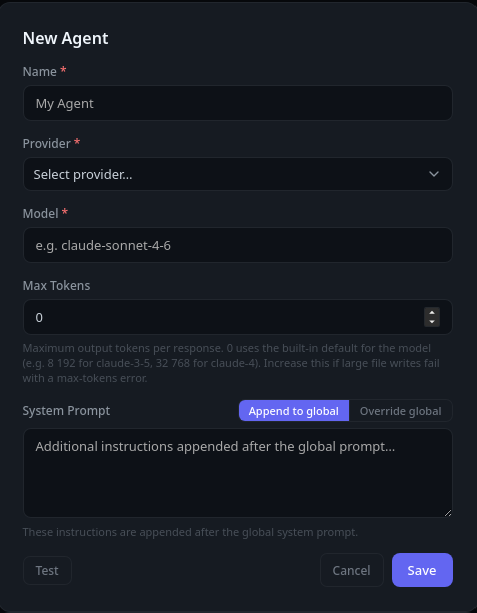
Adding an agent
An agent ties a provider and model together with the tools and instructions it should use. Give the agent a name, pick the provider and model it runs on. This is the agent that will chat with you and/or run the tasks in a Weave.
Your first Weave
With a project, provider, and agent in place, you're ready to build a Weave. There are three ways to create one:
- By hand. Open the Weaves page and fill out each task yourself.
- LLM generation. On the Weaves page, describe the work and let a model — typically a larger one — generate the tasks for you.
- From chat. While chatting, ask for some work to be done or for a Weave to be created. The chat model assembles the Weave and its tasks for you to review and run.
However you create it, review the generated tasks and then run them one at a time or all at once. On Linux, you can review captured writes before they land in your project.
Read more about Weaves and task isolation.